


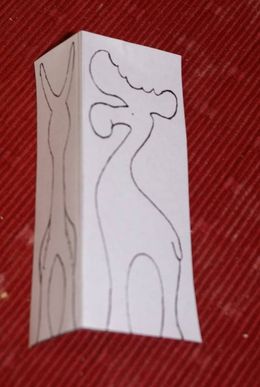
First, print out the template in the desired size, keeping in mind the limitations of the scroll saw. Then, cut out the template and ideally pre-fold it so you can easily align the right angle when attaching it.
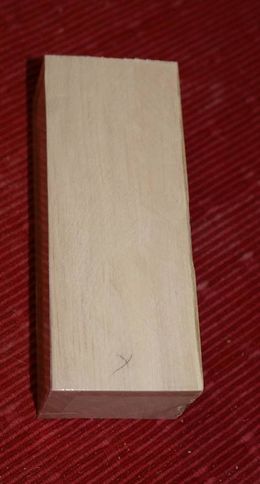
Cut the wooden block to the appropriate size, for example using a table saw. Ensure that the sides corresponding to the attached template are perfectly flat; otherwise, the workpiece will chatter and become difficult to control (risk of injury!). The dimensions for the moose shown here are 5.5 cm x 3.5 cm x 14 cm (length). The sides should then be covered with clear packing tape to prevent the wood from scorching.
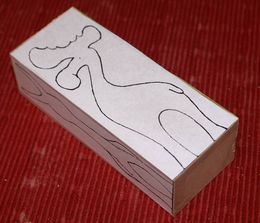
Next, attach the template to the wooden block.
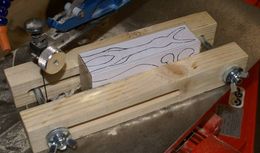
Clamp the workpiece into the holding jig; this makes it easier to guide the piece. A template for the jig is available from Steve Good, for example. It is best to saw the taller side first.
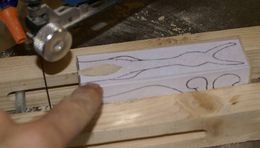
Now, saw out the space between the legs. The NIQUA TopCut #9 blade has proven effective for this task. Using this robust blade reduces strain on both the saw and the operator.
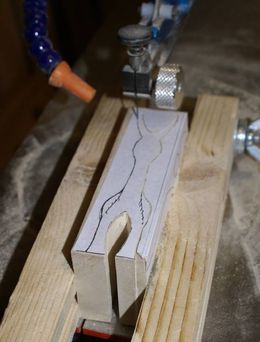
Now saw the outer outline, ideally in a single continuous cut.
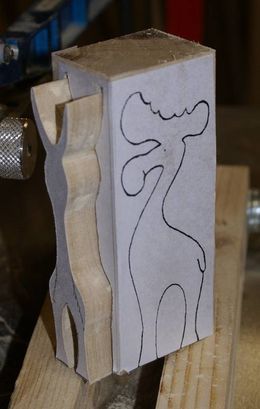
When you remove the wooden block from the guide jig, the moose is practically ready to pop right out.
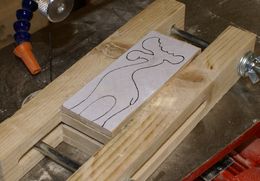
Now insert the other side into the jig. A size #7 blade—such as the Niqua Top Cut—is sufficient for sawing the flatter side.
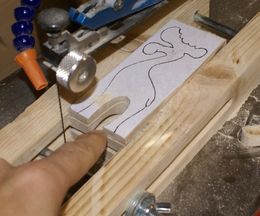
Again, start by sawing out the space between the legs.
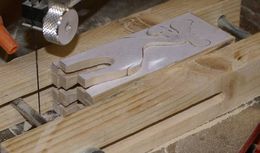
The next cut should again be made in a single continuous pass around the outside.
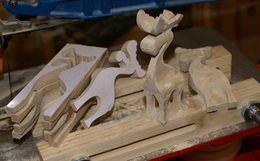
Once released from the clamp, the moose practically falls out of the block on its own. It can then be sanded and oiled as desired, and the magnificent piece is complete. After sanding, the front and back of the "scraps" can be used, for example, as ornaments for a bouquet or a Christmas tree.