


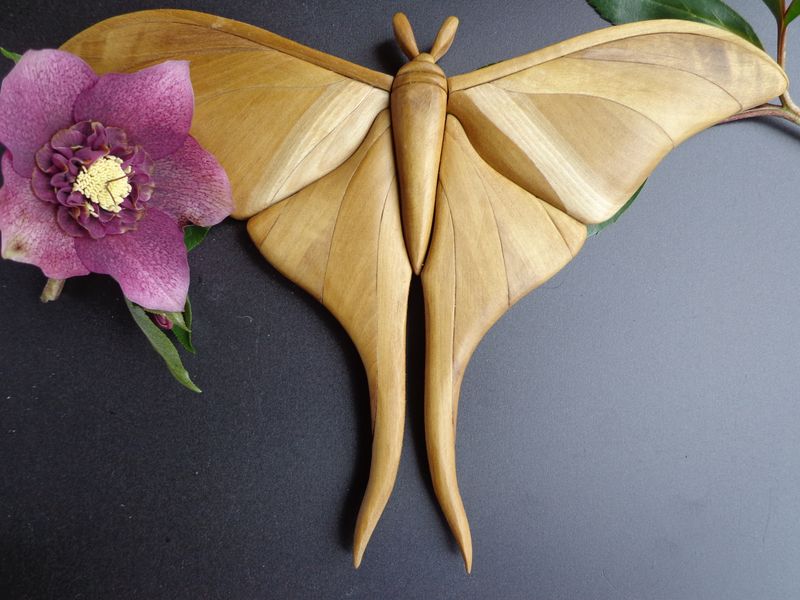
The "Moon Moth" is a beautiful moth that occurs in nature in a wide variety of green shades. This fretwork project, based on a template by Danny van Wattingen, surprises with an interesting technique and can be crafted even by experienced beginners.
When it comes to choosing the wood, very few woodworkers in Germany have access to green wood, such as Poplar Green. I used a piece of cucumber magnolia, which has a greenish-yellow shimmer – black locust (Robinie) also sometimes has a greenish tone. However, there are no limits to your imagination when choosing the wood. I recommend a rather light wood with a fine grain that matches the fragile shape of the Moon Moth. It should be at least 25 mm thick.
Material List:
1 piece of greenish wood (approx. 200mm x 150mm depending on the grain), such as cucumber magnolia, black locust, or Poplar Green, or a light, fine-grained wood, approx. 25 mm thick. Plywood, approx. 3mm for the back panel.
Tools:
Fret saw or scroll saw with blades #1 or #3
Spray adhesive or glue stick
Clear packing tape
Wood glue
Abrasives/Sandpaper with grit 100 to 400
2 square timbers approx. 30mm x 30mm and 2 small one-handed clamps for resawing/splitting the wood (recommended)
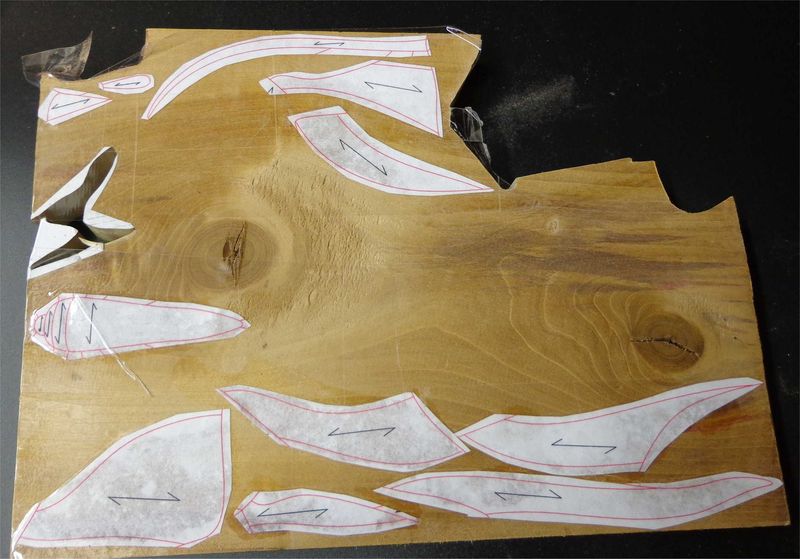
You will need 6 photocopies and place one of them as the main copy on your work surface. Now cut out the parts of only the right half (!) of the template (meaning all wing parts, the body, and one antenna) and glue them onto the wood, paying attention to the grain. A layer of clear packing tape over the paper prevents burn marks during sawing.
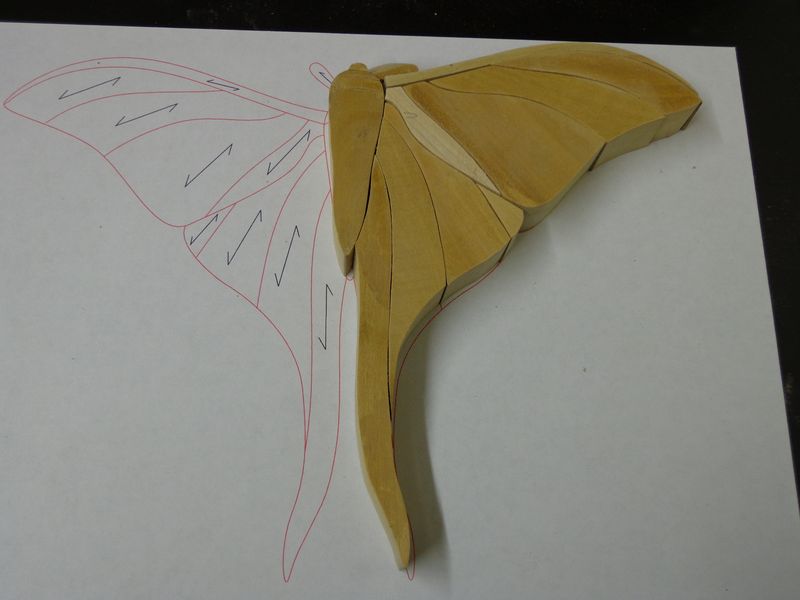
Saw out the parts carefully. In doing so, decide whether you want to saw right on the line or slightly to the right of it, and stick to your chosen method throughout. Align the sawn-out parts on the main copy and check the fit. If a part does not fit satisfactorily, it is best to saw it again. The final result depends on the fit, so the effort is well worth it!

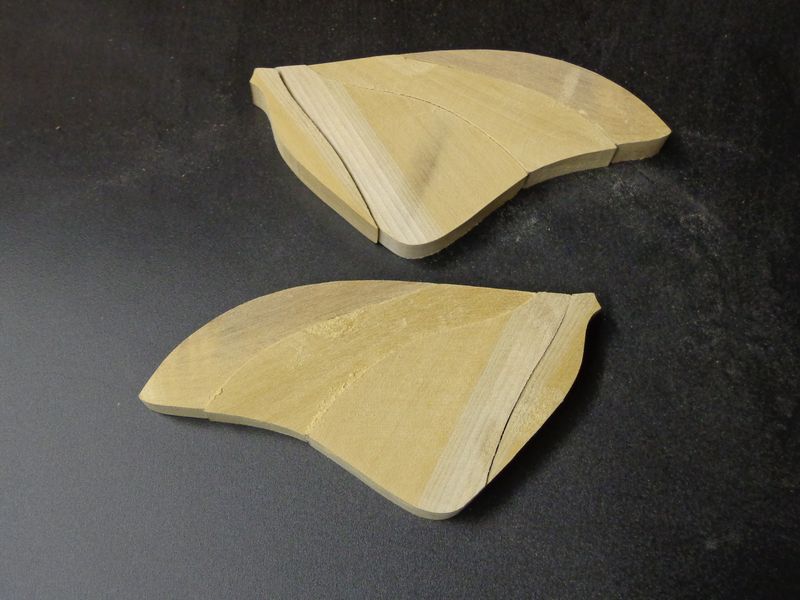
In the next step, all parts - except for the body - are split lengthwise (resawn) in thickness. This means you will then have a "mirror image" of each part. Draw a centerline on the edge of each part to guide you during the split. For sawing, it helps if you clamp the parts between 2 wooden slats using small one-handed clamps, for example. This allows you to guide the wood safely while sawing despite the small surface area, as the slats increase the support surface and keep the part perpendicular to the sawing surface.
You can see that not all parts are split exactly in half – a deviation of a few millimeters can be compensated for during the later sanding.
To ensure the wings form a beautiful, uniformly smooth surface later on, the parts of the upper and lower wing are assembled and attached to a piece of plywood using small pieces of double-sided tape so that they can be sanded as a single piece. To do this, saw matching plywood bases for the upper and lower right wings.

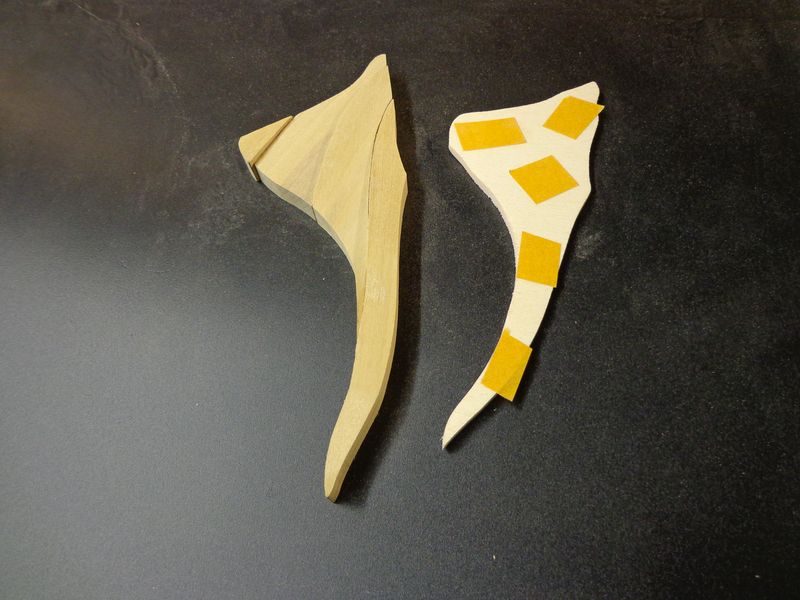
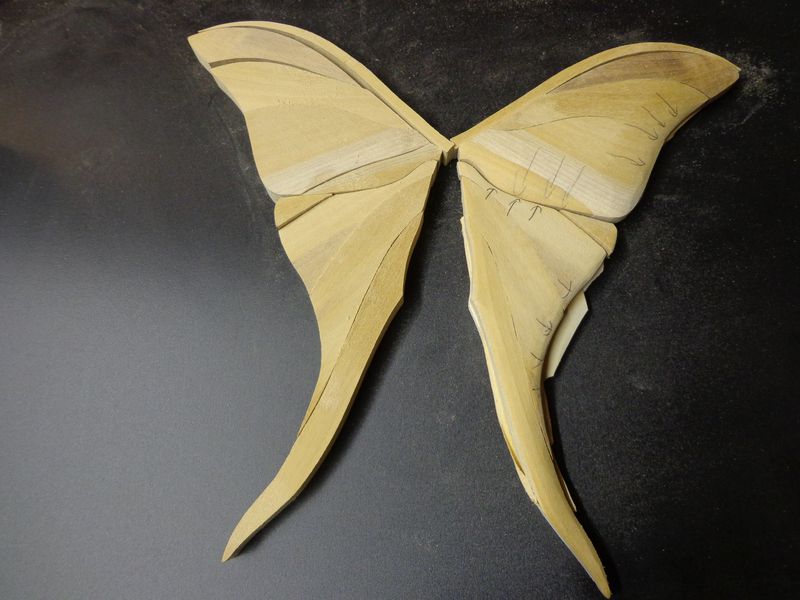
Start with the upper right wing part and glue the pieces onto the base now. Use only small pieces of tape so that the individual parts can be easily removed later. Now make sure to sand off only a little material with each sanding step. The arrows in the photo show the directions for sanding: The upper wing is sanded down towards the outer edges and towards the lower wing part. This leaves it highest in the center and slopes down gently with rounded edges to the bottom, right, and left. The upper edge remains at its original height; only the sharp edge is very lightly broken/softened.
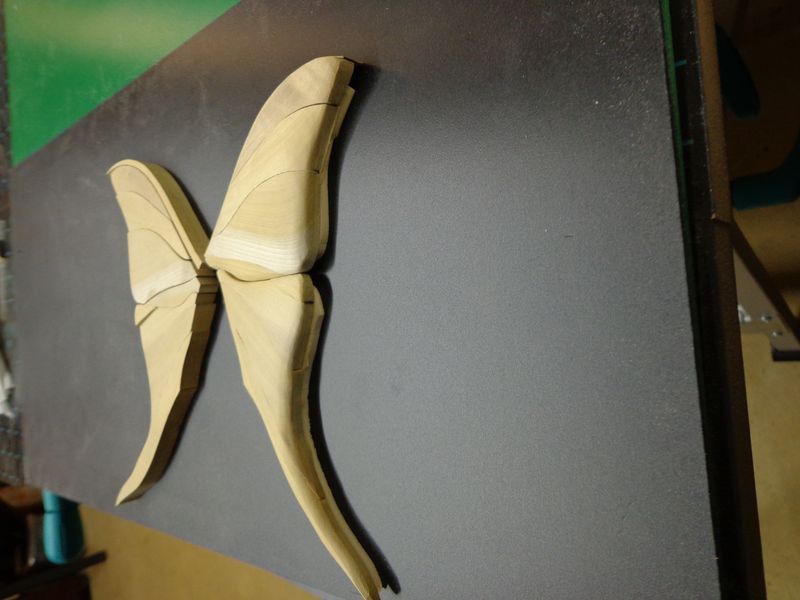
The lower wing is overall slightly flatter than the upper one. Here, assemble the parts just like you did with the upper wing part and attach them to the plywood base with tape strips. Carefully sand down the outer edges. While sanding, constantly check the transition between the upper and lower wing parts. Now detach the parts from the plywood bases. Be careful here as well. A Japanese putty knife is helpful for gently loosening tightly stuck parts from the surface.
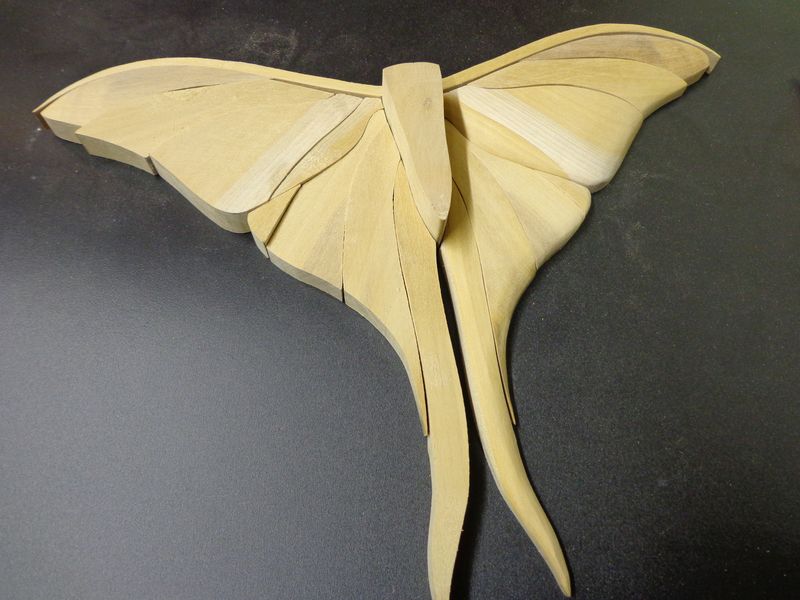
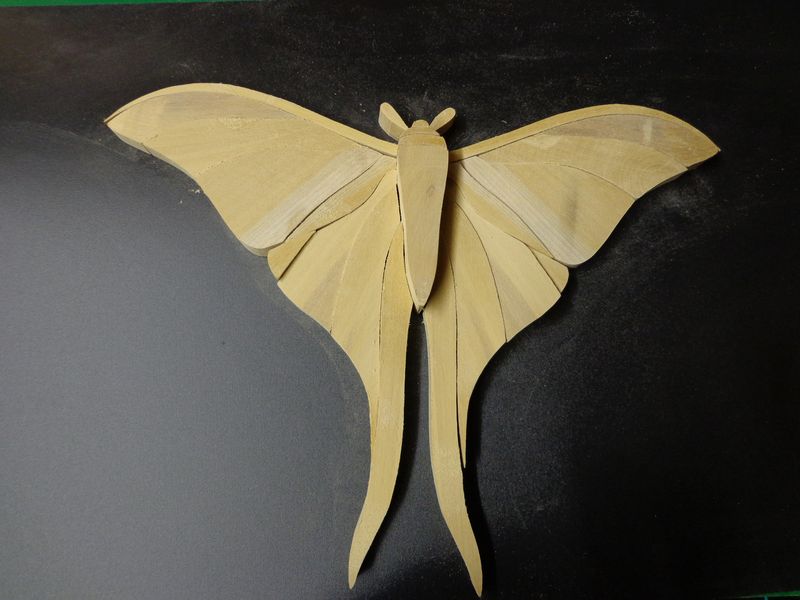
Now your Moon Moth should look something like this. Just like the choice of wood, the way you sand is an opportunity to give a project an individual look. Keep looking at your work from all sides to see if you like it this way.
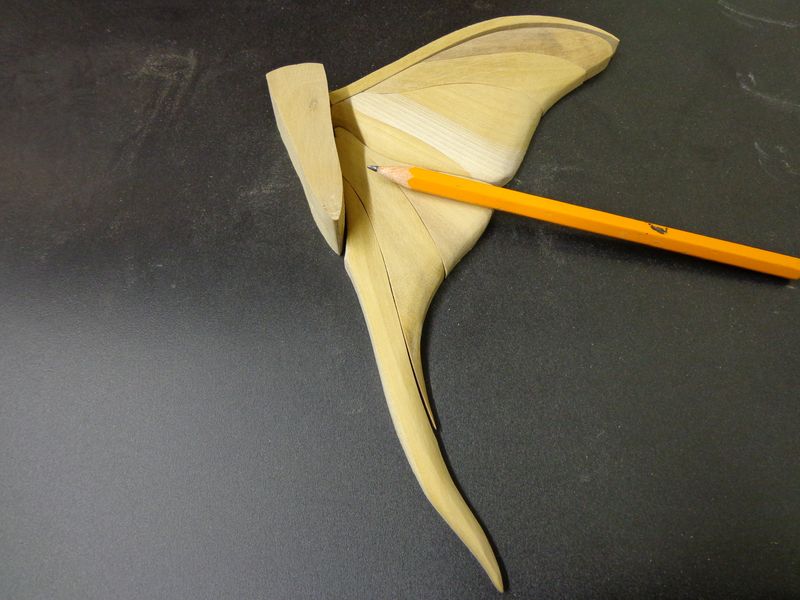
Now mark the edge where the wings meet the body and give the body a preliminary shape.
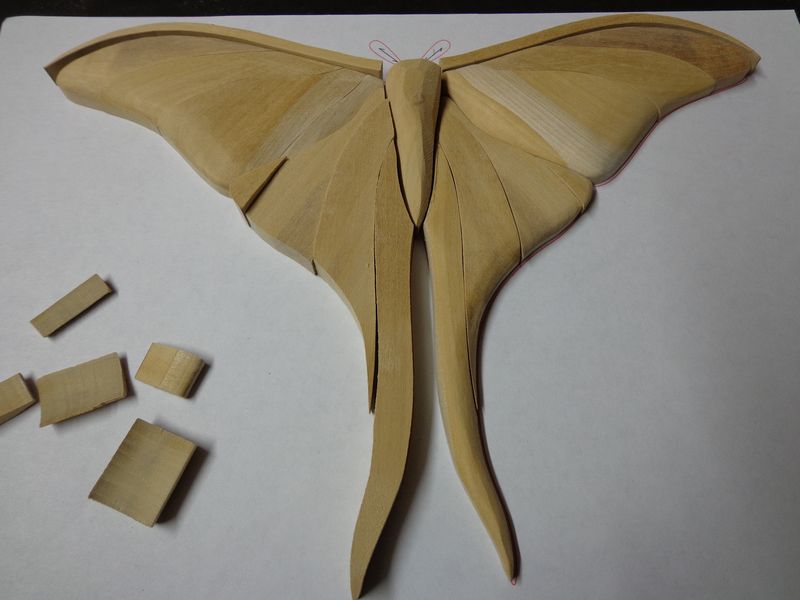
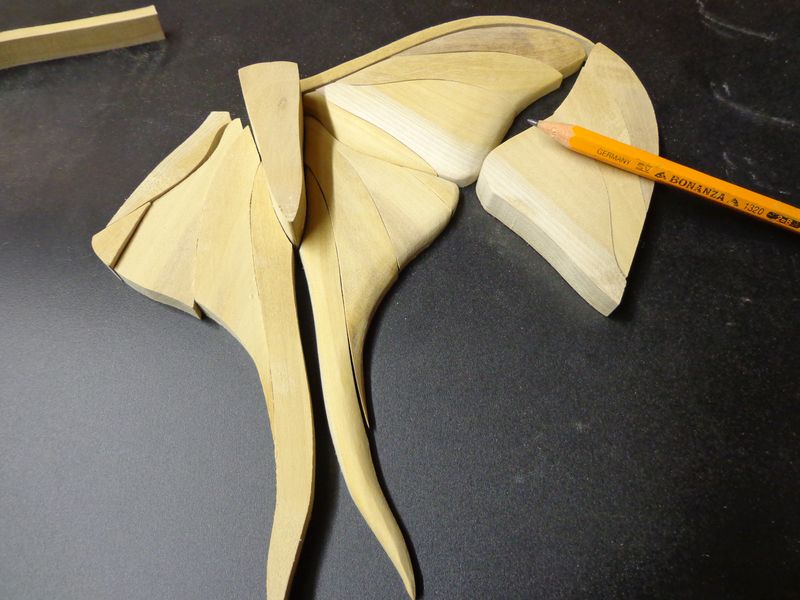
Now work on the left half of the Moon Moth exactly the same way as the right. You can reuse the plywood bases from the right side by simply flipping them over. To ensure the wings are symmetrical in the end, keep comparing the height of the outer edges while sanding. Afterward, detach all parts from the plywood bases and save the bases in case you want to saw another Moon Moth.
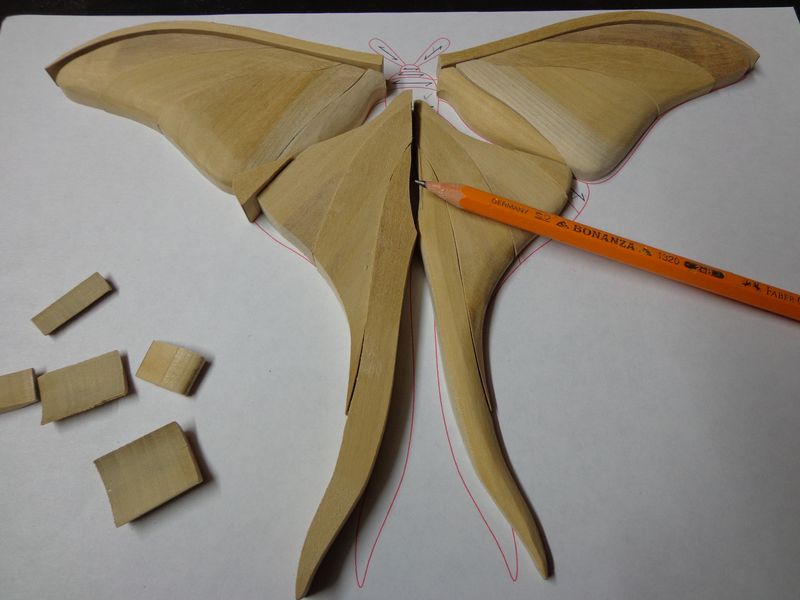
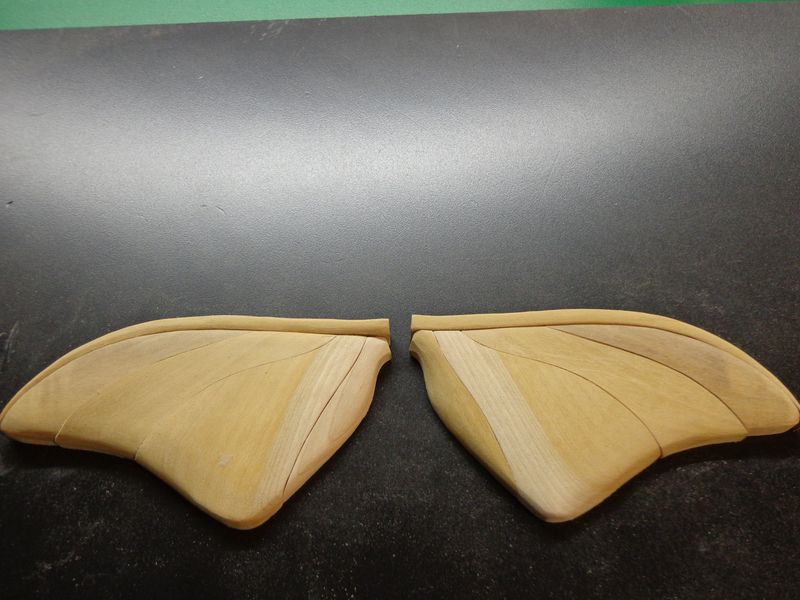
The edges of the wings still need to be adjusted. Watch out, they are very fragile – so be careful when sanding and hold the entire piece of wood firmly in your hand so it does not break.
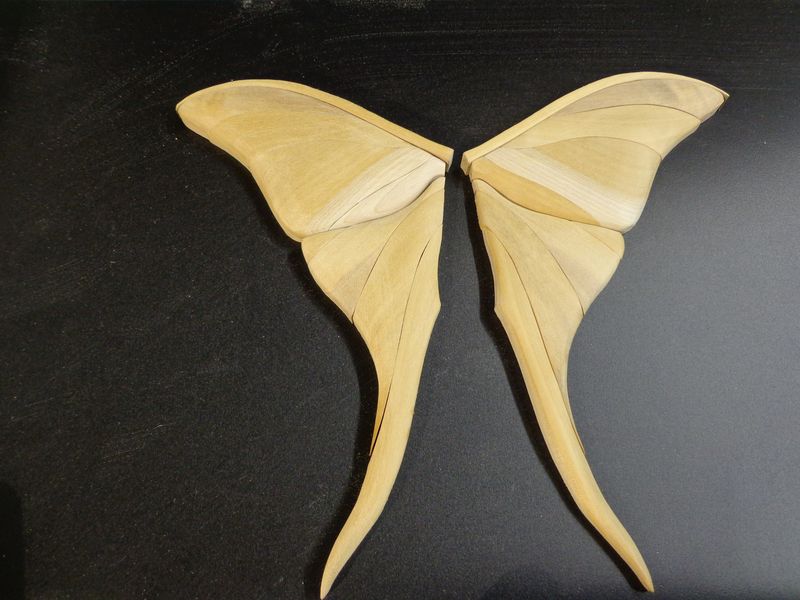
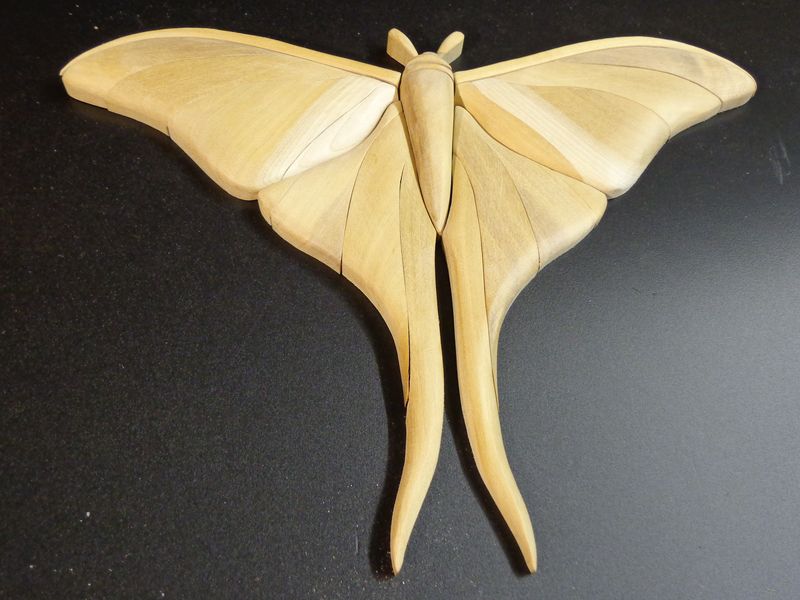
Sand the body and the antennae until they are rounded, creating a harmonious overall look. Align the Moon Moth on the main copy and check if the surface is beautifully smooth everywhere. Rework if necessary. Then glue the parts together using a small amount of wood glue. Make sure that no glue squeezes out on the top side.
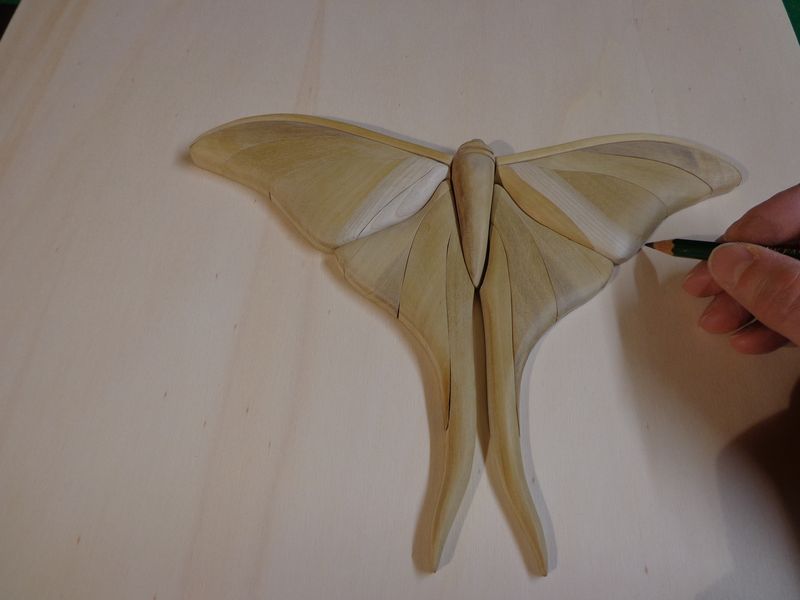
After drying, trace your Moon Moth with a pencil onto a piece of plywood, tilt your saw to 45 degrees, and saw out the outline. Alternatively, you can completely cut out the template, glue it on, and saw it out. However, the fit will probably be better if you use your own work as a template.


The beveled edge cut ensures that the back panel cannot be seen from the front. Now varnish or stain the side of the back panel that will be glued to the back of the project after drying. The dark background makes any small gaps between the pieces look like shadows to the eye, making them "disappear". You can decide whether you also want to blacken the edges and the outside of the back panel. If the entire project is very light, I prefer to leave the edges light.
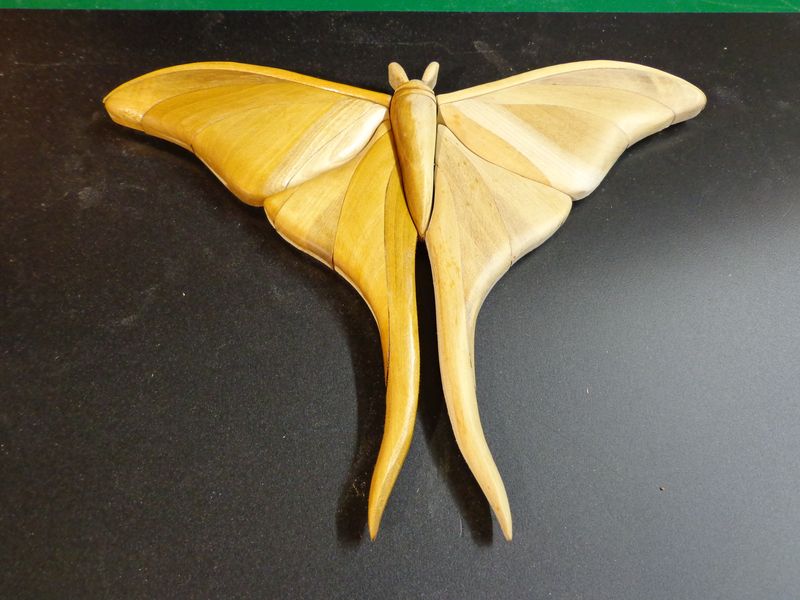
Now glue the project onto the back panel using wood glue. To weigh it down while gluing, I use a bag of bird sand, which adapts to the uneven surface, and let everything dry thoroughly. You can now wax, varnish, or oil the surface.
About the technique:
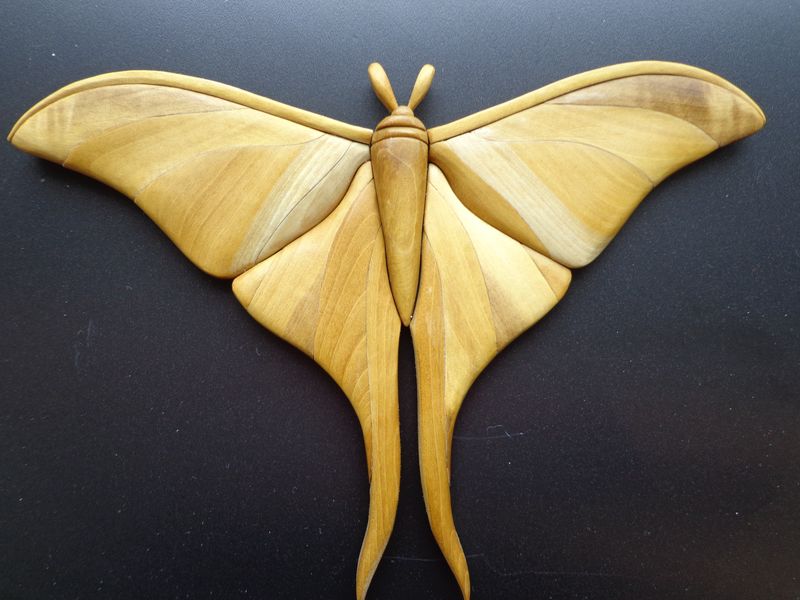
The technique of sawing only one half of the motif and then splitting the parts is well-suited for symmetrical projects such as butterflies or blossoms. If you have wood with a very uniform grain, you might get lucky and end up with 2 identically patterned halves, as can be clearly seen here. The butterflies are also templates by Danny van Wattingen.
