

")
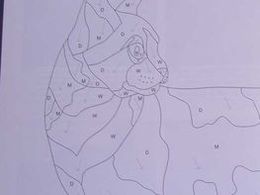
I want to show how I did the intarsia cat, a pattern of Kathy Wise. First of all you need several copies that you should make all at the same time to prevent different sizes. I made 20 and kept one as my master copy.
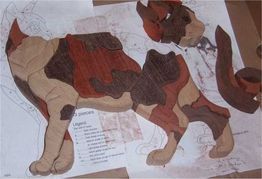
After this you start selecting the wood and glue the corresponding parts of the pattern on the wood of your choice. You have to pay attention at the grain direction to make the fur of the cat look naturally. The most important thing is to saw exactly because otherwise the parts do not fit together. I decided to scroll a very very small bit out of the lines - if two parts don´t fit exactly together I can sand a little bit off. On this picture the pieces are scrolled and positioned on the master copy to check the fit.
The main work starts now: sanding. Good sanding gives the cat a vivid look. The next picture shows the sanded front legs.
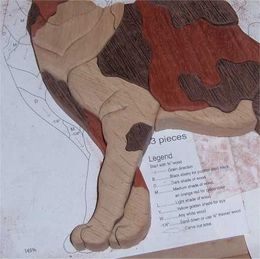
The lower leg has been sanded flat and with this it looks as if one leg is behind the other one. The two cuts on the upper leg are carved with a small carving knife and afterwards cautiously sanded with a small dremel.
Here you see the sandes hind legs. The small mould in one of the legs near the knee contributes in the vivid look. This picture shows that the head is still flat and not yet sanded.
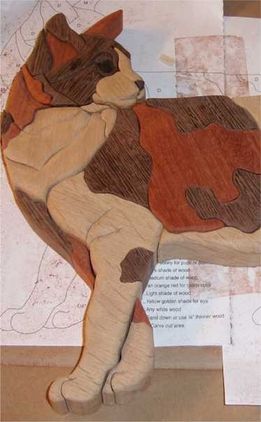
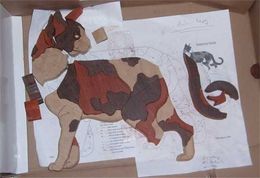
The front of the cat is nearly finished. It took much time and concentration to build the different height of nose, chin and cheek by glueing small and flat pieces of wood underneath.
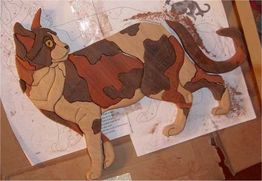
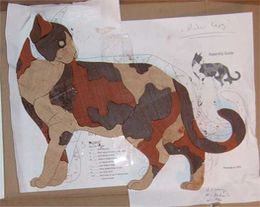
The eye has been inserted, a delicate piece of work. I glued the pieces that build the back of the cat together with 2 drops of ca-glue and sanded them in one part. Afterwards I broke them apart again.
Here you can see the difference between the oiled pieces and the natural wood.
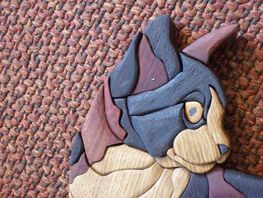
The head is made of 17 pieces. It takes some time until everything fits together.
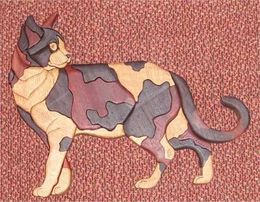
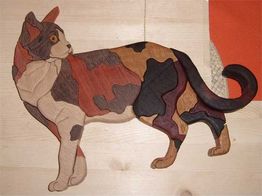
When all pieces are sanded they have to be glued on a backer board that can be made from plywood. The board should be a little bit smaller than the cat to prevent it from showing from behind. I coloured the board black on both sides and glued the cat on it.
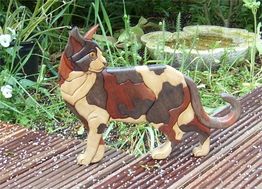
Here you can see the cat on its first walk in the garden.